Projection options to transform your rooms: creative projection ideas for home and events
Projection options give you fast and dramatic results. They help you switch a room from everyday to special with a single plug-in. I’ll keep this friendly and practical. You can try a setup in your living room, on a storefront, or in a community hall. The examples here focus on gear you probably have or can rent. I also include small hacks that save setup time and power. Think about the mood you want: cosy, immersive, playful, or elegant. Narrow that down first and the rest falls into place.
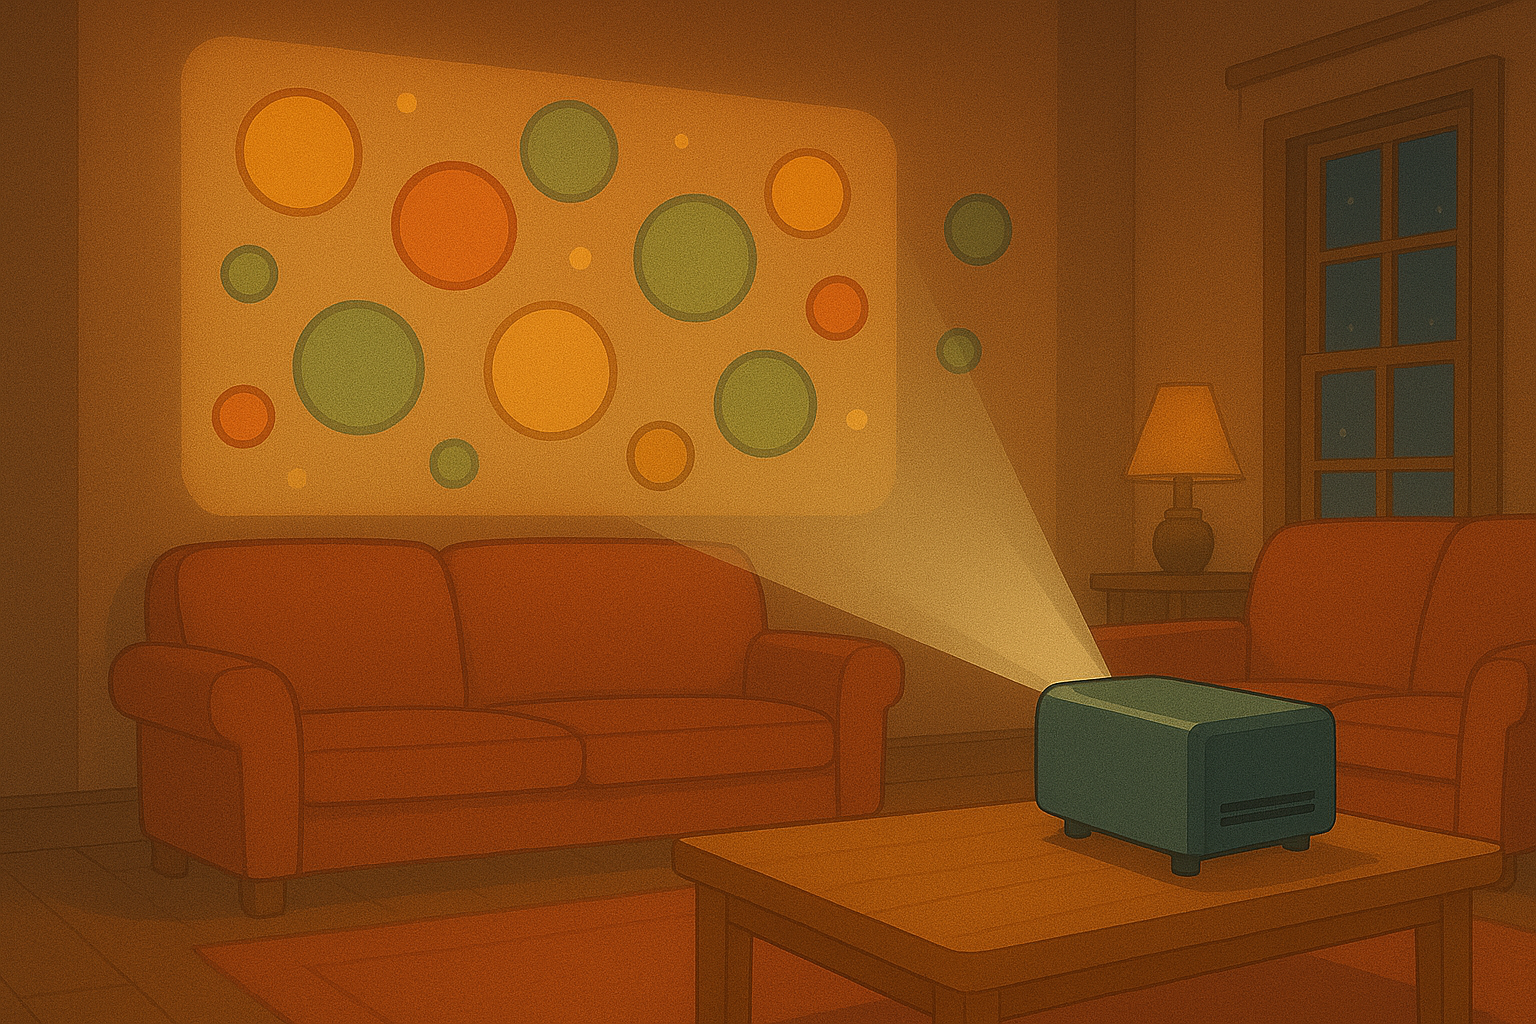
Big impact with wall projection
Projection options work brilliantly on large, light-coloured walls. A bright projector and a matte white surface give crisp images and vivid colors. Start with the image size you want and place the projector to fill that area. Short, even, clear sentences help when you’re setting up. Pick a projector with enough lumens for ambient light conditions. If your room has daylight or street lights, aim higher on brightness. Mounting makes a big difference. Ceiling mounts keep the floor clear and avoid accidental bumps.
Projection options can be scaled for mood and budget. For a dramatic evening display, choose a high-resolution file and dim the lights. For a daytime vibe, go for motion and strong contrast. Use masking or temporary tape to define edges so your image looks intentional. Use a projector with keystone correction or, better, physically square it to the wall. Small tests and a few tweaks will get you there quickly. Keep cables tidy and consider a short HDMI extender if the projector is far from the source.
Cozy and visible: window projection
Projection options shine on windows when you want something seen from both inside and out. Use rear-projection film if you need the image to face outside while the projector stays inside. The film sticks to the glass and gives good color and contrast. It also protects the projector from weather. Pick content with high contrast for best daylight legibility. For evening shows, softer animations and warm tones feel inviting from the sidewalk.
Projection options are perfect for seasonal displays like an Advent window or storefront promotion. Secure the film well and mind reflections on the inside. Add blackout curtains behind the projection if your room gets strong backlight. Consider a small, quiet projector so you don’t disturb neighbors or shoppers. Test the angle from the sidewalk too; a small change in projector position can improve visibility a lot. Use timer controls to automate start and stop times and save energy.
Magic in the middle of the room: floating nets
Projection options become magical when paired with a sheer net or gossamer fabric. The fabric sits in the air like a ghostly screen and lets images appear to float. Hang a very fine mesh across the space using lightweight mounts. Keep the fabric as flat as possible to avoid distortions. Use a projector placed to one side for soft shadows that add depth. This technique works well in galleries, lounges, and intimate event corners.
Projection options offer a sense of wonder with motion graphics on a net. Choose subtle movements or slow fades and let people walk around without losing the effect. Avoid strong wind or heavy foot traffic that can make the fabric move too much. Balance the projector’s brightness to keep the net visible but the background still readable. If you want multi-layered visuals, place two nets at different depths and sync the content. The result feels like magic and invites guests to linger.
Plug-and-play: showing content on TV
Projection options are not just about projectors; they include TV displays too. Use a smart TV, a streaming stick, or an HDMI connection to run our animations directly. This is the easiest path for homes and small venues. You don’t need complex mounts or dark rooms. Just queue up the content on the TV and hit play. This option is great for tight schedules or when you need reliable playback without frequent adjustments.
Projection options on TV allow you to loop playlists, run timed sequences, or mix live feeds. Choose the right resolution and make sure the TV has game or cinema modes for smoother motion. If you plan multiple screens, sync them with the same start time or use a simple playlist manager. Use HDMI when you want zero-lag and the best quality. Go wireless if you need flexibility and accept a slight delay. Either way, this option is fast, low-maintenance, and very accessible for renters or homeowners.
Practical setup tips and quick fixes
Projection options demand small, smart choices that save time. Start with a clear layout sketch and a checklist of gear: cables, power strips, mounts, and content files. Label cables and test the full run a day before. Bring spare bulbs or adapters if your projector is older. Small items like gaffer tape and a level make setup smoother. Keep the remote or a simple control app handy to tweak brightness or play/pause without climbing ladders.
Projection options are best when you plan for the audience too. Think about sightlines, walking paths, and where people will take photos. Place your projector to avoid blocking views and protect it from curious hands. Use mild ambient sound to enhance the visual without overpowering conversation. For events, create a short loop that repeats cleanly and include a subtle call to action if relevant. With modest prep and these practical tips, you’ll get the most from your projections and leave your guests impressed.
Ideas to try tonight
Projection options make easy experiments feel special. Try a slow-moving galaxy on a bedroom wall or a cosy fireplace on a rainy evening. Project seasonal patterns on your window for passersby. Hang a net in a corner and try floating abstract shapes for a party. Use a TV to run ambient scenes during a dinner and switch to a bold wall projection for dancing. Small changes in content and placement create very different moods.
Projection options encourage playful testing. Swap one or two settings and see how the mood shifts. Invite a friend to help and take photos from different angles. Keep notes on what worked and what didn’t so the next setup is faster. With a few tries you’ll develop a feel for distance, brightness, and content that suits your space. Have fun and let the projections do the heavy lifting while you enjoy the moment.
Popular projections