Home christmas projection: build your cozy holiday cinema at home
Home christmas projection feels like magic because it changes a whole room with one soft image. It is quick to set up and forgiving if things are not perfect. Start small and friendly. Think of the projection as a living decoration. You can switch themes, colors, and motion with a tap. The charm comes from the scene and the people sitting in front of it. Keep sentences short and your goals clear. If you want to create a gentle holiday nook, choose a simple looped video, a warm color palette, and a low volume soundtrack. These small choices make the visual feel intentional and calm. Plan for comfort: a cozy chair, a throw, and a mug of something warm. That is the heart of a home cinema vibe. You do not need a dark theater. Soft, controlled light often works best. And when you invite friends, it feels like a small, intentional event.
Why a projection creates instant holiday atmosphere
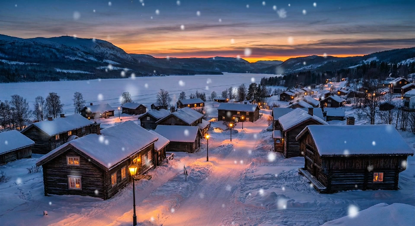
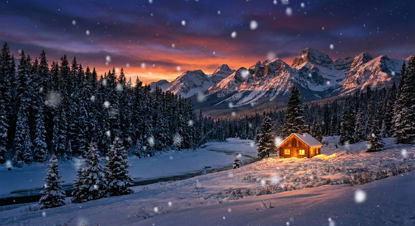
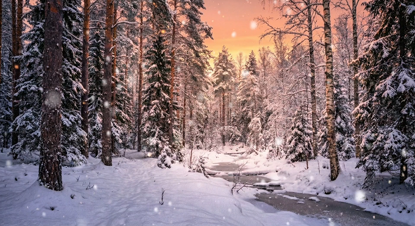
Home christmas projection opens the door to atmosphere in a way that fairy lights alone do not. Moving images catch the eye and invite people to linger. You can show snow, flickering candles, or slow panoramas of a winter town. Motion gives the space depth. It tricks the brain into presence. A static decoration is pretty. Motion is immersive. Keep your scenes gentle and slow. Fast cuts and bright strobe effects break the cozy mood. Use warm colors like soft whites, ambers, and muted greens. These tones feel like a modern take on classic holiday light. Sound is part of the scene too. A quiet loop of instrumental carols or gentle crackling fire adds warmth without demanding attention. The goal is atmosphere, not distraction. Think of the projection as an honest, quiet host. It sets the mood, chairs the conversation, and makes a tiny corner feel curated. You can adapt this to a mantel, an empty wall, or an outdoor porch if weather allows. The easy wins are choosing content that loops smoothly and keeping contrast moderate so faces stay visible and cozy.
Picking the right wall and framing your tiny stage
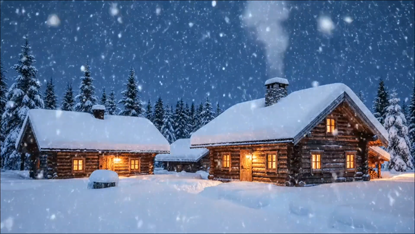
Home christmas projection works best on a plain surface with little texture. A smooth, light-colored wall gives the cleanest image. If your wall is textured or dark, use a tensioned sheet or a portable screen. Position the projector so the image hits the center of your chosen wall. Measure the throw distance and test small shifts. A little move can remove a lamp from the frame or avoid showing clutter. Frame the projection with simple props. A small table, a couple of candles, and a garland can give context without stealing the show. Keep the frame low and unobtrusive. A bench or a low shelf makes a friendly place to set mugs or blankets. If you have kids or pets, secure cables and keep fragile items out of reach. For outdoor porches, protect the projector from moisture and wind. A covered porch lets you maintain the cozy effect even with a little snowfall. Lighting around the room should be dim and warm. Avoid cold white LEDs near the projection. They wash out colors and kill the mood. Instead, place a small lamp with a warm bulb across the room to keep silhouettes soft and welcoming.
Decor, sound and simple staging ideas
Home christmas projection shines when paired with tactile decor. Layer textiles: throws, cushions, and a textured rug make the scene inviting. Place a small basket with extra blankets nearby so guests can snuggle in. Add a few low decorations that catch the projected light. Metallic ornaments or a wooden sled can pick up highlights without distracting. Sound should be quiet and loop-friendly. Choose instrumental tracks or ambient mixes that match the visual theme. Lower the volume so people can talk. If you have a smart speaker, set a playlist that fades in when the projector starts. Consider scent too. A subtle pine, cinnamon, or vanilla diffuser amplifies the seasonal feeling. Keep scents light to avoid overwhelming sensitive friends. For staging, create a focal activity: a hot chocolate station, a cookie plate, or a short playlist of holiday shorts. These tangible actions give people something to do while they watch. If you want a more theatrical touch, use a simple curtain or a draped fabric at the edge of the projection to make a small ‘stage’ line. This defines the area and adds a homey, handmade vibe that guests will love.
Practical setup steps and common pitfalls to avoid
Home christmas projection is simple when you follow a few practical steps. First, pick content you love. Use short loops, five minutes or less, so the scene feels fresh. Second, test sound and light levels in the early evening. Watch how the image reads with your lamps on and off. Adjust until faces look warm and the projection remains the focus. Third, secure cables. Tape them down or hide them under rugs. Fourth, back up with a simple playlist or a second device in case the main player hiccups. Common pitfalls are too-bright room lights, busy background clutter, and overly complex visuals. Avoid content with fast cuts or flashing lights. Also, be mindful of neighbors if you project outdoors. Keep volumes respectful and angles controlled so light does not spill into other windows. A small gobo or barn doors for a projector helps shape light. If your projector is bright enough, try using a colored gel or a soft filter to warm the image. If not, lower the contrast on the media player and pick visuals with softer whites. Always have a test run before guests arrive. That way you know how long the loop plays and how the sound mixes with conversation.
Examples, photo ideas and easy content suggestions
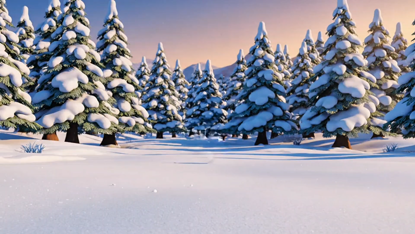
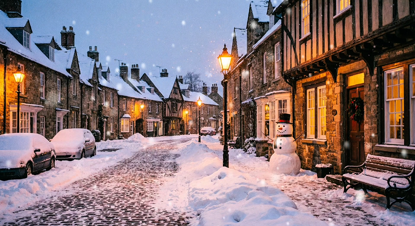
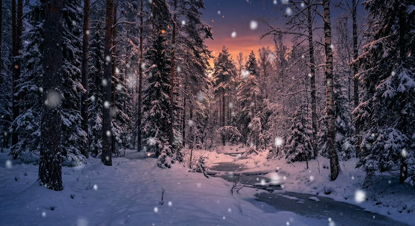
Home christmas projection becomes memorable with a few curated examples. Try a slow snowfall loop over a warm town skyline for a classic scene. Use a repeating fireplace clip with subtle crackle sound for the coziest feel. For a modern twist, choose animated silhouettes of skating figures or stylized northern lights. If you want a family-friendly option, rotate short holiday films or vintage clips on a low screen. For photos, take a wide shot that includes the projection and seating. Then take close-ups of hands holding warm drinks against the glow. These images tell the story and help you refine the setup next time. If you want to share on social, a short ninety-second clip that pans your tiny stage and lingers on the projection works well. Keep captions simple and warm. Finally, experiment. Move a throw here, dim a lamp there, and watch how small changes lift the mood. The best setups are those that feel effortless and personal. Invite a friend over. Let the scene play. Enjoy the cozy moment you created with a little light and a lot of heart.
home christmas projection should feel like a friendly invite, not a production. Keep it simple, keep it warm, and let the scene do the talking. With a few props and a loop you love, you can make a quiet, magical corner in hours. Try one theme this week, and tweak it next weekend. Small experiments lead to the most charming traditions.
Popular projections